Decorative Long Knife Lanyard
In this post, I will show you how to make a simple yet decorative knife lanyard that you can be proud of. This particular lanyard is designed to either wrap around your wrist or attach to your belt. The primary purpose of a lanyard is, of course, to prevent you from accidentally dropping your favourite knife and losing it forever! For this specific knotting project, I have used some black tarred bank line. However, I would say that using a light colour of line is also a good choice because, over time, the lanyard will develop a beautiful patina.
Black Tarred Knife Lanyard
Making a Long Knife Lanyard
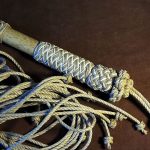
Using the image above, I will walk you through the various components and steps involved in creating this lanyard. When we examine the image above, starting from the top and working down, we can identify the following knots: the Diamond Knot, the Four Strand Round Sennit, the Star Knot positioned over the Four Strand Round Sennit, the Matthew Walker Knot, and finally, the 3-strand Plait. The lanyard is actually connected to a small snap shackle, allowing me to interchange my tools as needed. The Star Knot has the unique ability to slide along the length of the lanyard, serving as a button that the lanyard’s eye (located at the bottom right) can be adjusted to fit over.
Star Knot Button
The initial step involves creating a 6-pointed Star Knot. To craft this Star Knot, you will require three strands of cordage that will be woven into a short section of a three-strand plait positioned in the centre of the 3 strands. The idea is so the when you bring the plait together it will form a small loop through which the four strand round sennit will pass through. Once you have created the 3 strand plait loop, bring the ends together to form a loop and tie off with a constrictor knot (video).
Now that you have done this, you should have a nice little loop held together with a constrictor knot and six strands protruding for you to make a 6 pointed Star Knot (video) that has been crowned.
In the image above, my marlin spike is passing through the eye created by the 3-strand plait. The two white sections represent the loose ends of the constrictor knot responsible for securing the loop. Once you complete the Star Knot, the white cord will be removed. In the photo above, the Star Knot is nearly finished; all it requires is to crown the six strands and tuck the leads back into the Star Knot before cutting them flush on the opposite side. Once you have completed the Star Knot button, it can be set aside for now.
How Long Should the Lanyard Be?
At this point, you will need to determine the desired length of your knife lanyard. When I selected the length for my lanyard, I aimed for sufficient length, ensuring that when it’s attached to my belt, there’s enough lanyard available to use the knife without it being too short and causing hindrance. Once you know how long your lanyard needs to be, you then have to calculate how much cordage you will need in total. My personal really rough guide is, for every inch of decorative knot-work, I will need about a foot of cordage. This may be a little excessive for this knotting project, but it is far better to have too much, that too little!
3 Strand Plait Loop
When examining the top photo, we will create the lanyard by commencing at the bottom right. Therefore, our initial step involves crafting a 3-strand plait loop. We now need to cut 3 very long strands of cordage, as this will be used along the whole length of the lanyard. Now, let’s centre the three strands of line and begin weaving a 3-strand plait. This plait will create the eye that fits over our Star Knot, so every so often stop, bring the six plaited strands together to form a loop that will fit snugly over the Star Knot button. Once your loop is the right size, form the loop and tie it together with the Constrictor Knot.
Matthew Walker Knot
Now using the 6 protruding strands we now want to form a Matthew Walker Knot (video). When tying the Matthew Walker Knot ensure that it buts up nice and tight against the ends of the 3 strand plait. Gently work your way around each strand of the Matthew Walker knot pulling up gently on each pass. In the end you should have a lovely uniform and very firm knot.
Four Strand Round Plait
Before we start our 4 Strand Round Plait, you will need to remove two of the strands coming from the Matthew Walker Knot. Make sure that when the two strand are cut away, it is flush with the Matthew Walker Knot. We are now left with 4 long strands into which you will now want to tie the 4 strand round sennit. Perhaps the best thing to do at this point is to hang your work over a hook, so that it just makes it a little easier for you to work with. It is now that you will want to start doing the 4 Strand Round Plait (video) and keep going till you have the length of lanyard that you require. Once you have the length you require, tie off with the Constrictor Knot.
It is now at this point we need to get our Star Knot Button and thread it over our Four Strand Round Plait.
Attaching the Snap Shackle
This is a fairly simple step, just take your four strands and pass them in alternate directions through the Snap Shackle.
Diamond Knot
The final part of this project is to create some form of decorative Diamond Knot to keep the lanyard secured to the Snap Shackle. In this particular case I have used the Manrope Knot (Wall and Crown method) This can be tied around a core. Once again when creating this know, gently go round and pull up tightly till you get a lovely firm diamond knot. You can then cut the excess lead flush.
Long Decorative Knife Lanyard Video
Since writing this post on the long decorative knife lanyard, I have now done a video tutorial. This video is also laid out in chapters, so that you can jump straight to the section that you may not be sure about.
Des Pawson’s Book on Knot Craft
If you’re in the market for an exceptional guide to decorative knotting, Des Pawson’s “Book on Knot Craft” is a standout choice. Packed with a diverse array of 60 projects and 20 creative rope mat designs, this book caters to knot enthusiasts of all levels of expertise. What sets it apart is its accessible approach, providing clear and detailed instructions on the precise length of cordage or rope needed for each project. Whether you’re just starting out or a seasoned knot crafter, this book guarantees an immersive and enjoyable exploration into the world of knot crafting. With Pawson’s expertise and a wealth of valuable content, it’s a must-have for anyone passionate about the art of knotting.
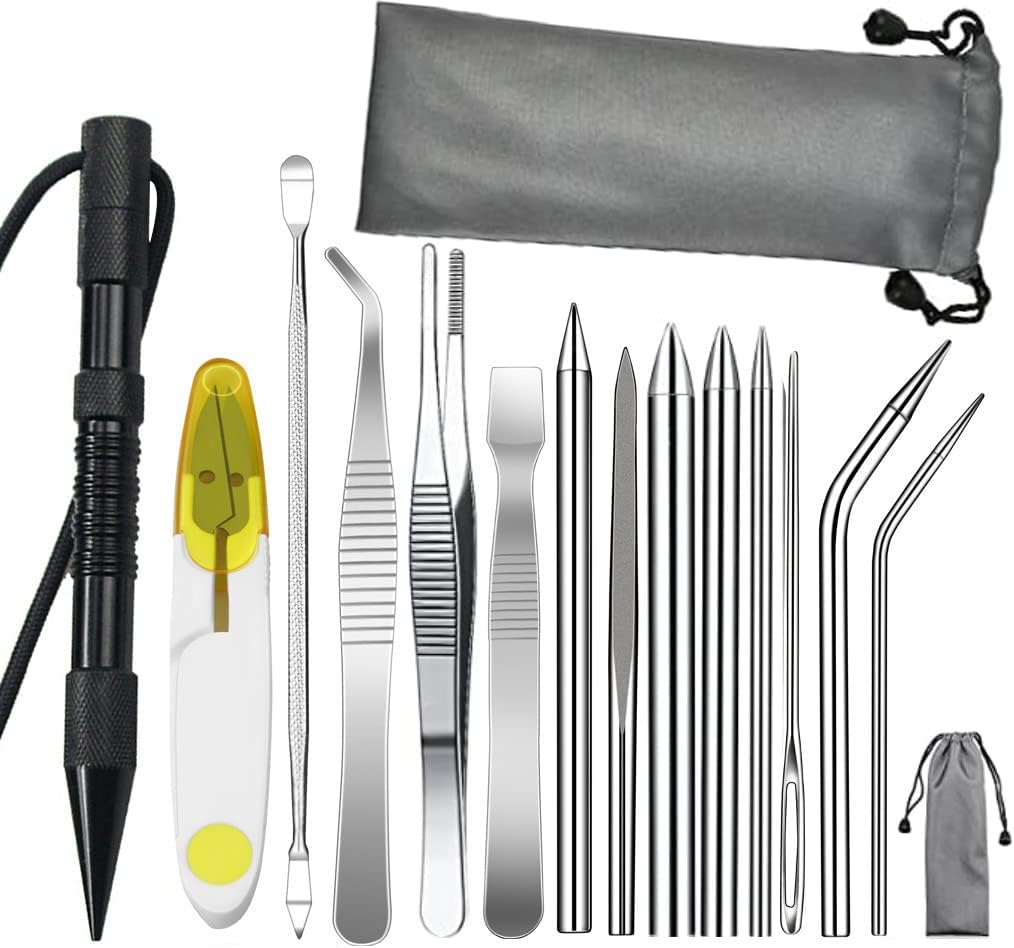
 | Set of lacing needles, Marlin Spike, smoothing tool and snips etc. | ||
| | Myerchin do make a beautiful and professional Marlin Spike and are readily available. |
| | Knot Craft and Rope Mats: 60 Ropework Projects Including 20 Mat Designs by Des Pawson Rating: |


