The Carrick Bend is generally used when working with large hawsers or cable that do not easily create tight bends or tucks. The other good thing about the Carrick Bend is that it will not readily slip when under strain.
I have taken a series of photos and also a video showing you how to tie the Carrick Bend
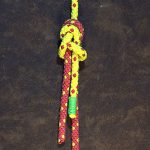
Take the two working ends of your rope and allow the bottom (black) one to cross over the top (orange) one by 90 degrees.
With the upper (orange) rope form an underhand loop over the bottom (black) as shown in the photo.
Now bring the working end of the bottom rope so that it passes under the working end of the top rope.
Then bring the working end over the top of the loop of the orange rope.
Take the working end of the black rope and tuck it under the black rope.
Then take it over the orange rope again, as in the final picture.
Then pull up on all the end to tighten the knot.
How to Tie the Carrick Bend Video:
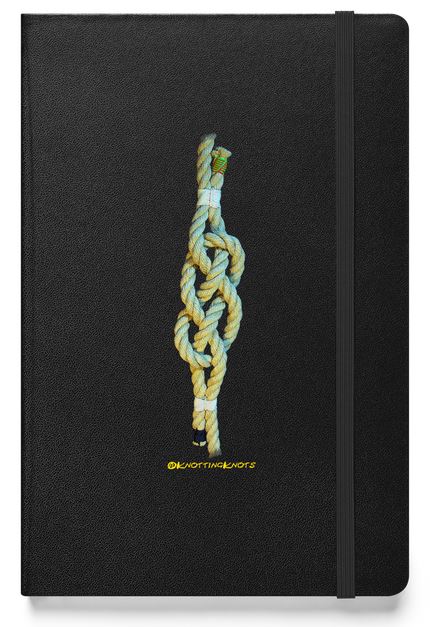
Carrick Bend Notebook
Elevate your writing experience with the Carrick Bend Notebook – a stylish, durable journal inspired by the timeless strength of nautical knots. Featuring a sleek design and high-quality paper, it’s perfect for note-taking, journaling, to keep track of ongoing and future knotting projects.
Display your passion for the art of knot tying with this handsome black mug featuring a detailed illustration of the reliable Clove Hitch with Sailmaker's Whipping.


Comments
Tie the Carrick Bend How to — No Comments
HTML tags allowed in your comment: <a href="" title=""> <abbr title=""> <acronym title=""> <b> <blockquote cite=""> <cite> <code> <del datetime=""> <em> <i> <q cite=""> <s> <strike> <strong>